


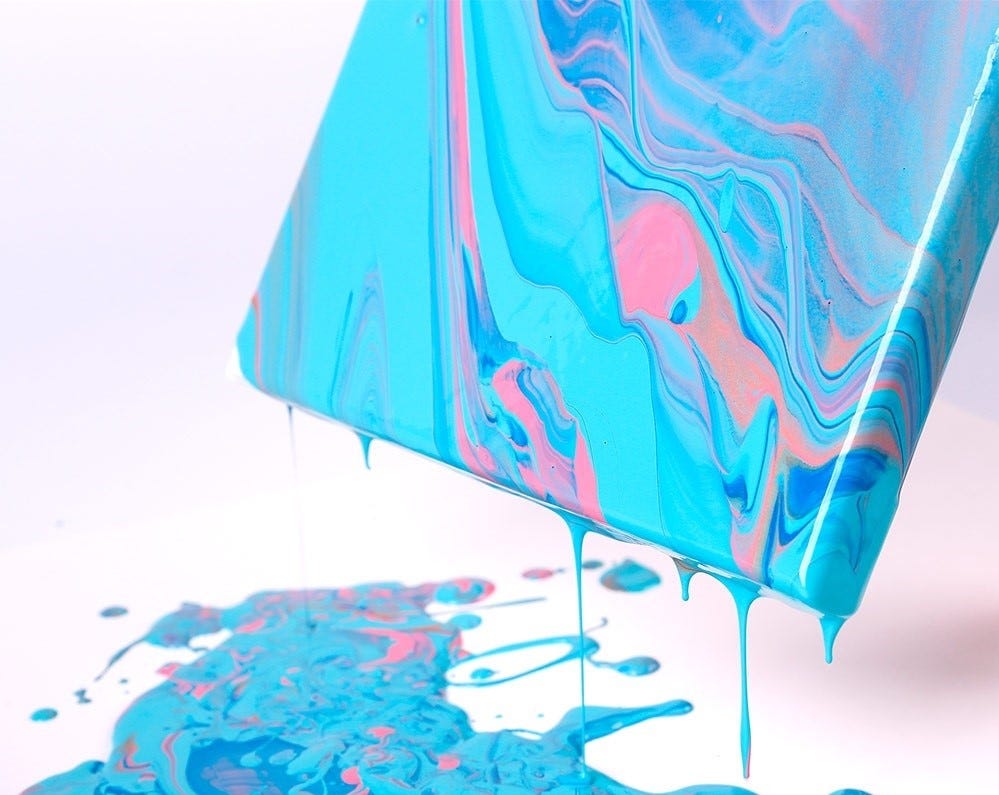
Pouring paint is quickly melting its way into many people’s hearts and becoming a popular painting technique around the globe. We’ve compiled some of our most asked pouring paint questions, to solve those drippy dilemmas and get you back to creating.
1. What is pouring paint?

Pouring paint is an acrylic-based paint mixed with a pouring medium. A medium is added to thicken the paint’s consistency, making it suitable for pouring. By pouring or tipping the paint onto a surface, the colours melt together to create stunning marble and drip-like effects.
2. What can I pour on?

Fluid painting works well on a sturdy surface, this is because when it comes to pouring, a lot of paint is used. To avoid any warping on paper or panels, you will need a surface that will absorb both the paint and the moisture. Reach for a stretched canvas with a frame, a wooden board or ceramics for the best results.
3. Do I need to add anything to my pouring paints?

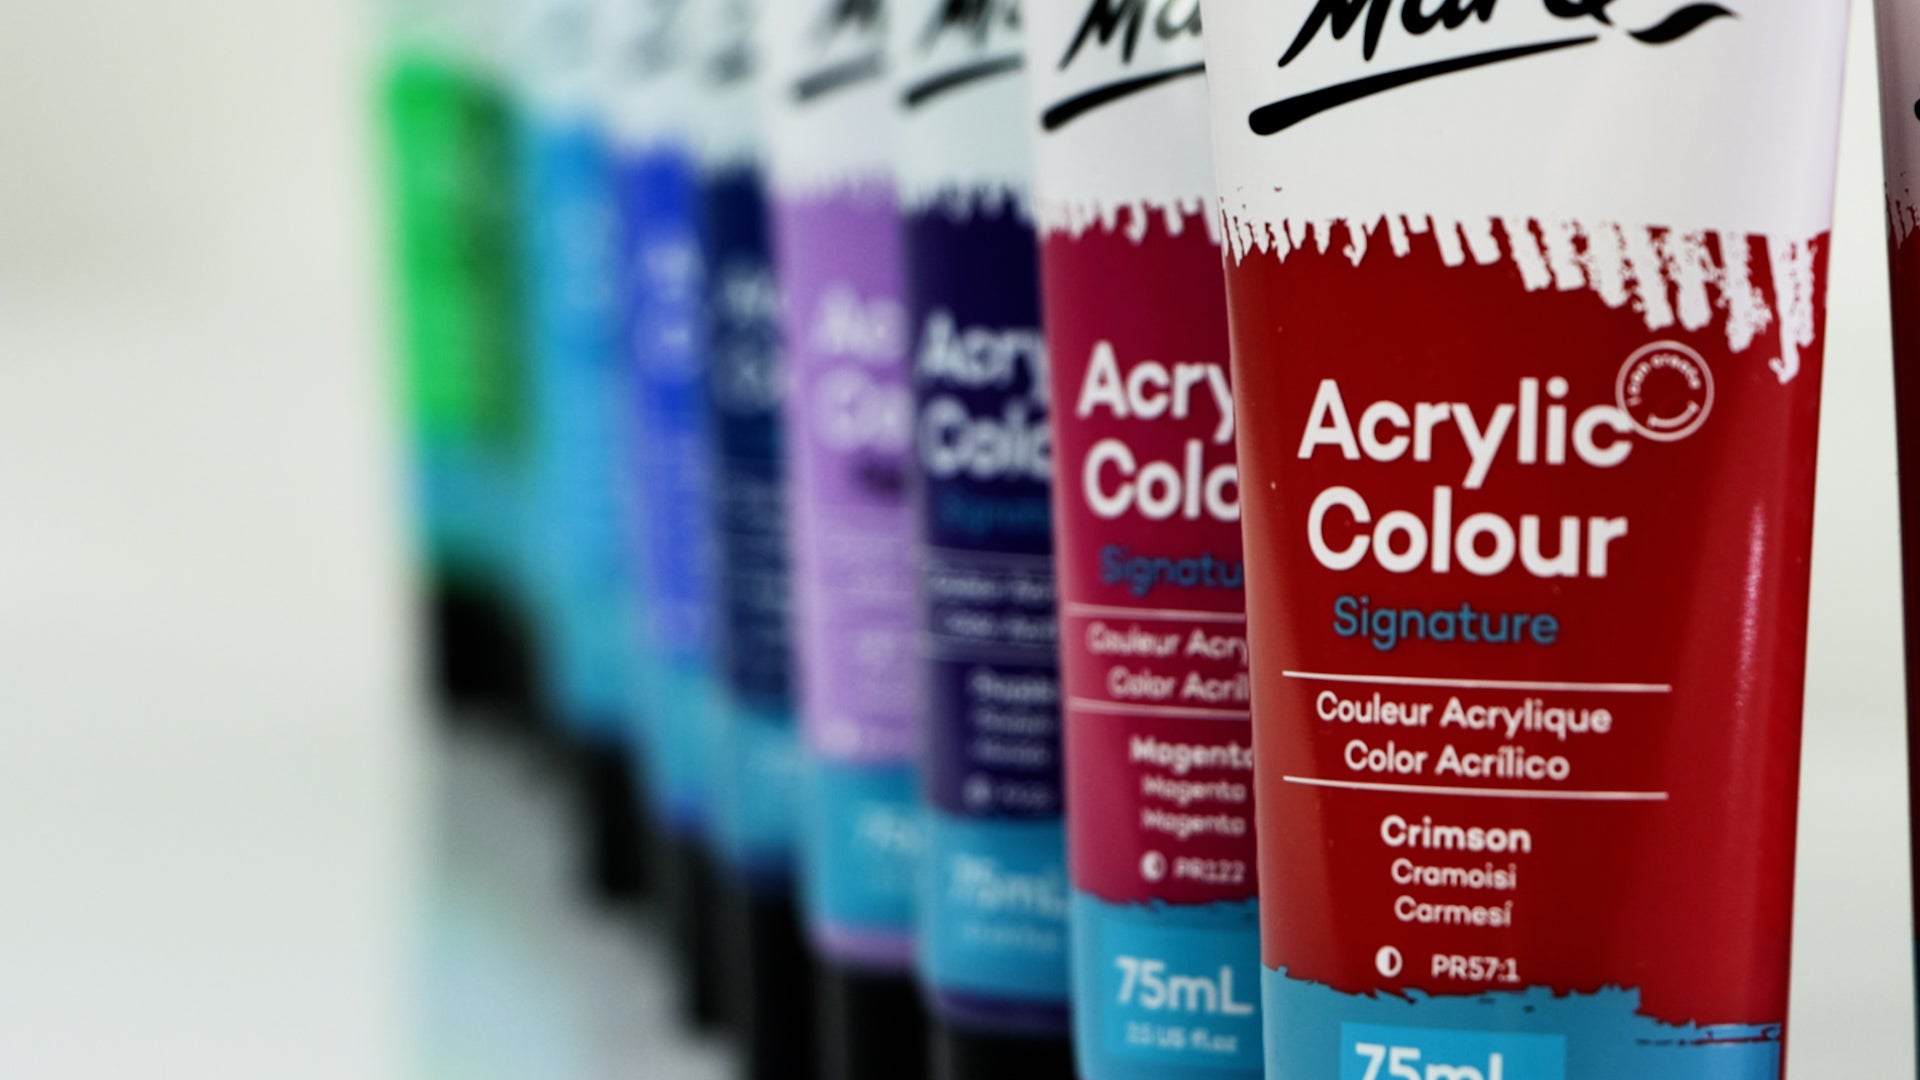
We offer our own pre-mixed pouring paints. These paints are already mixed with a pouring medium, so they’re ready for pouring when you are. They offer a medium flow consistency, which is suitable for most types of acrylic pouring. If you prefer working with a higher flow, you can thin the paint by adding in a pouring medium or a little water to adjust the consistency.
4. Can I use pre-mixed pouring paints for something else?

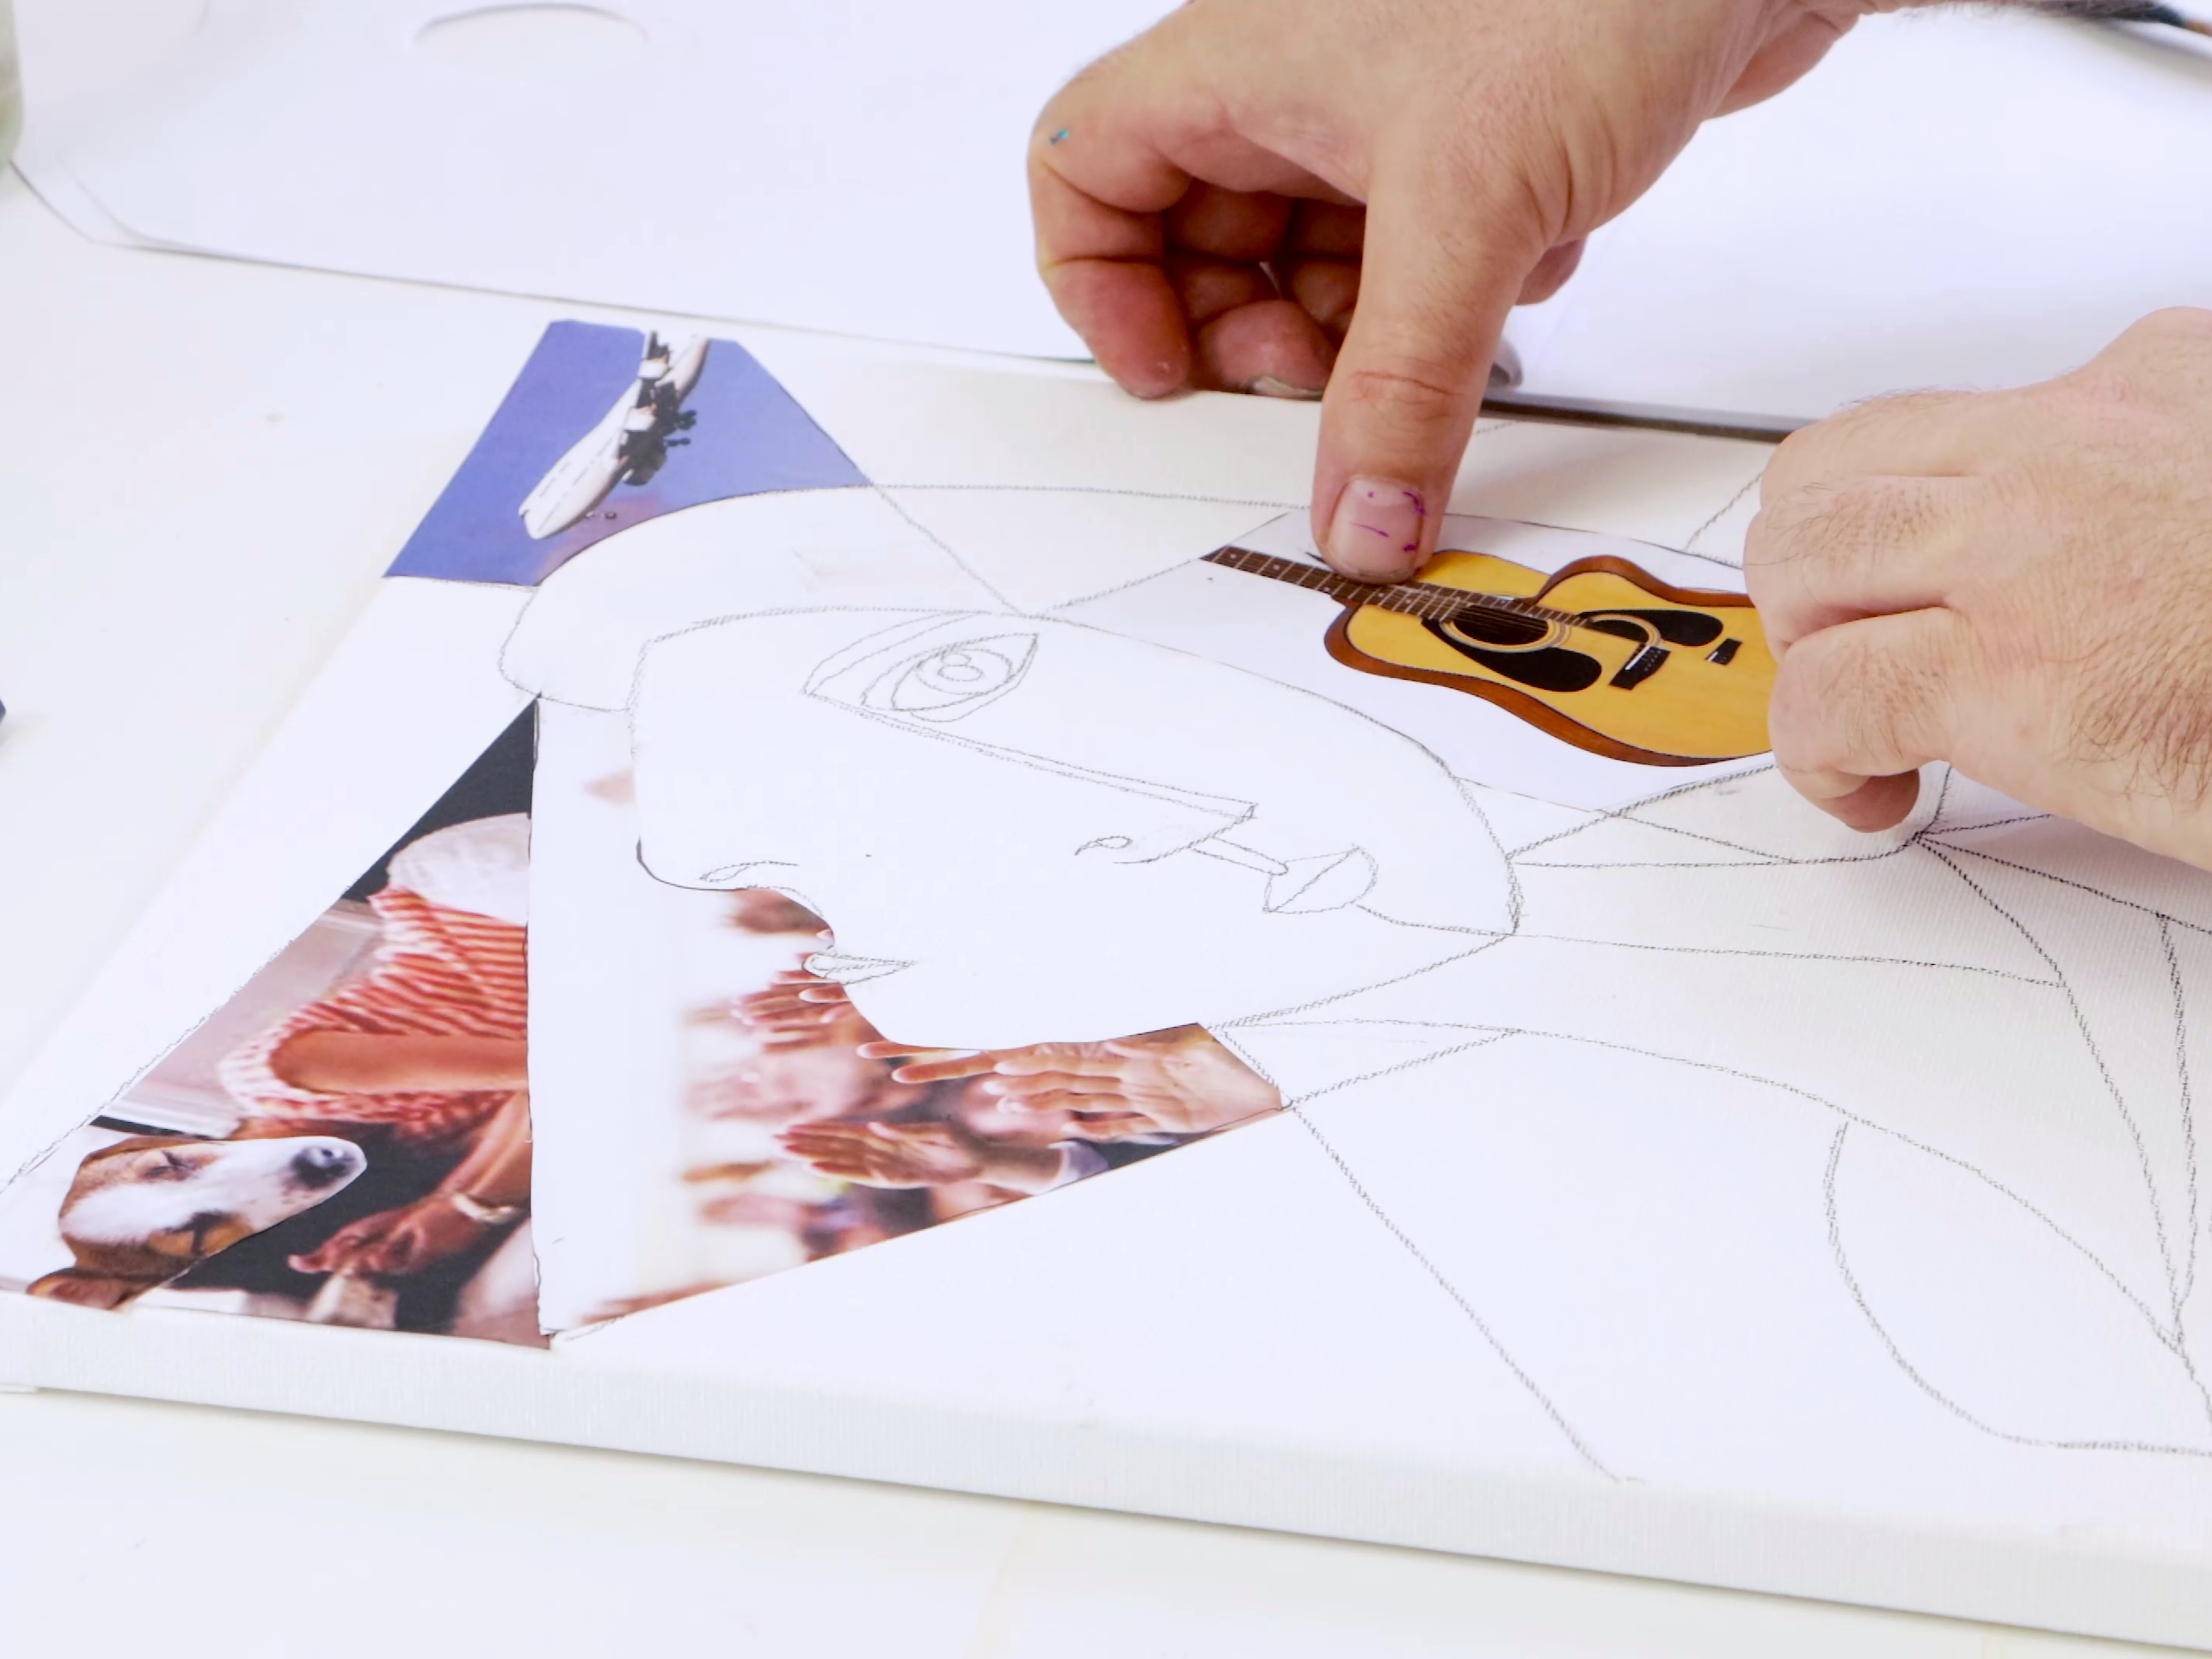
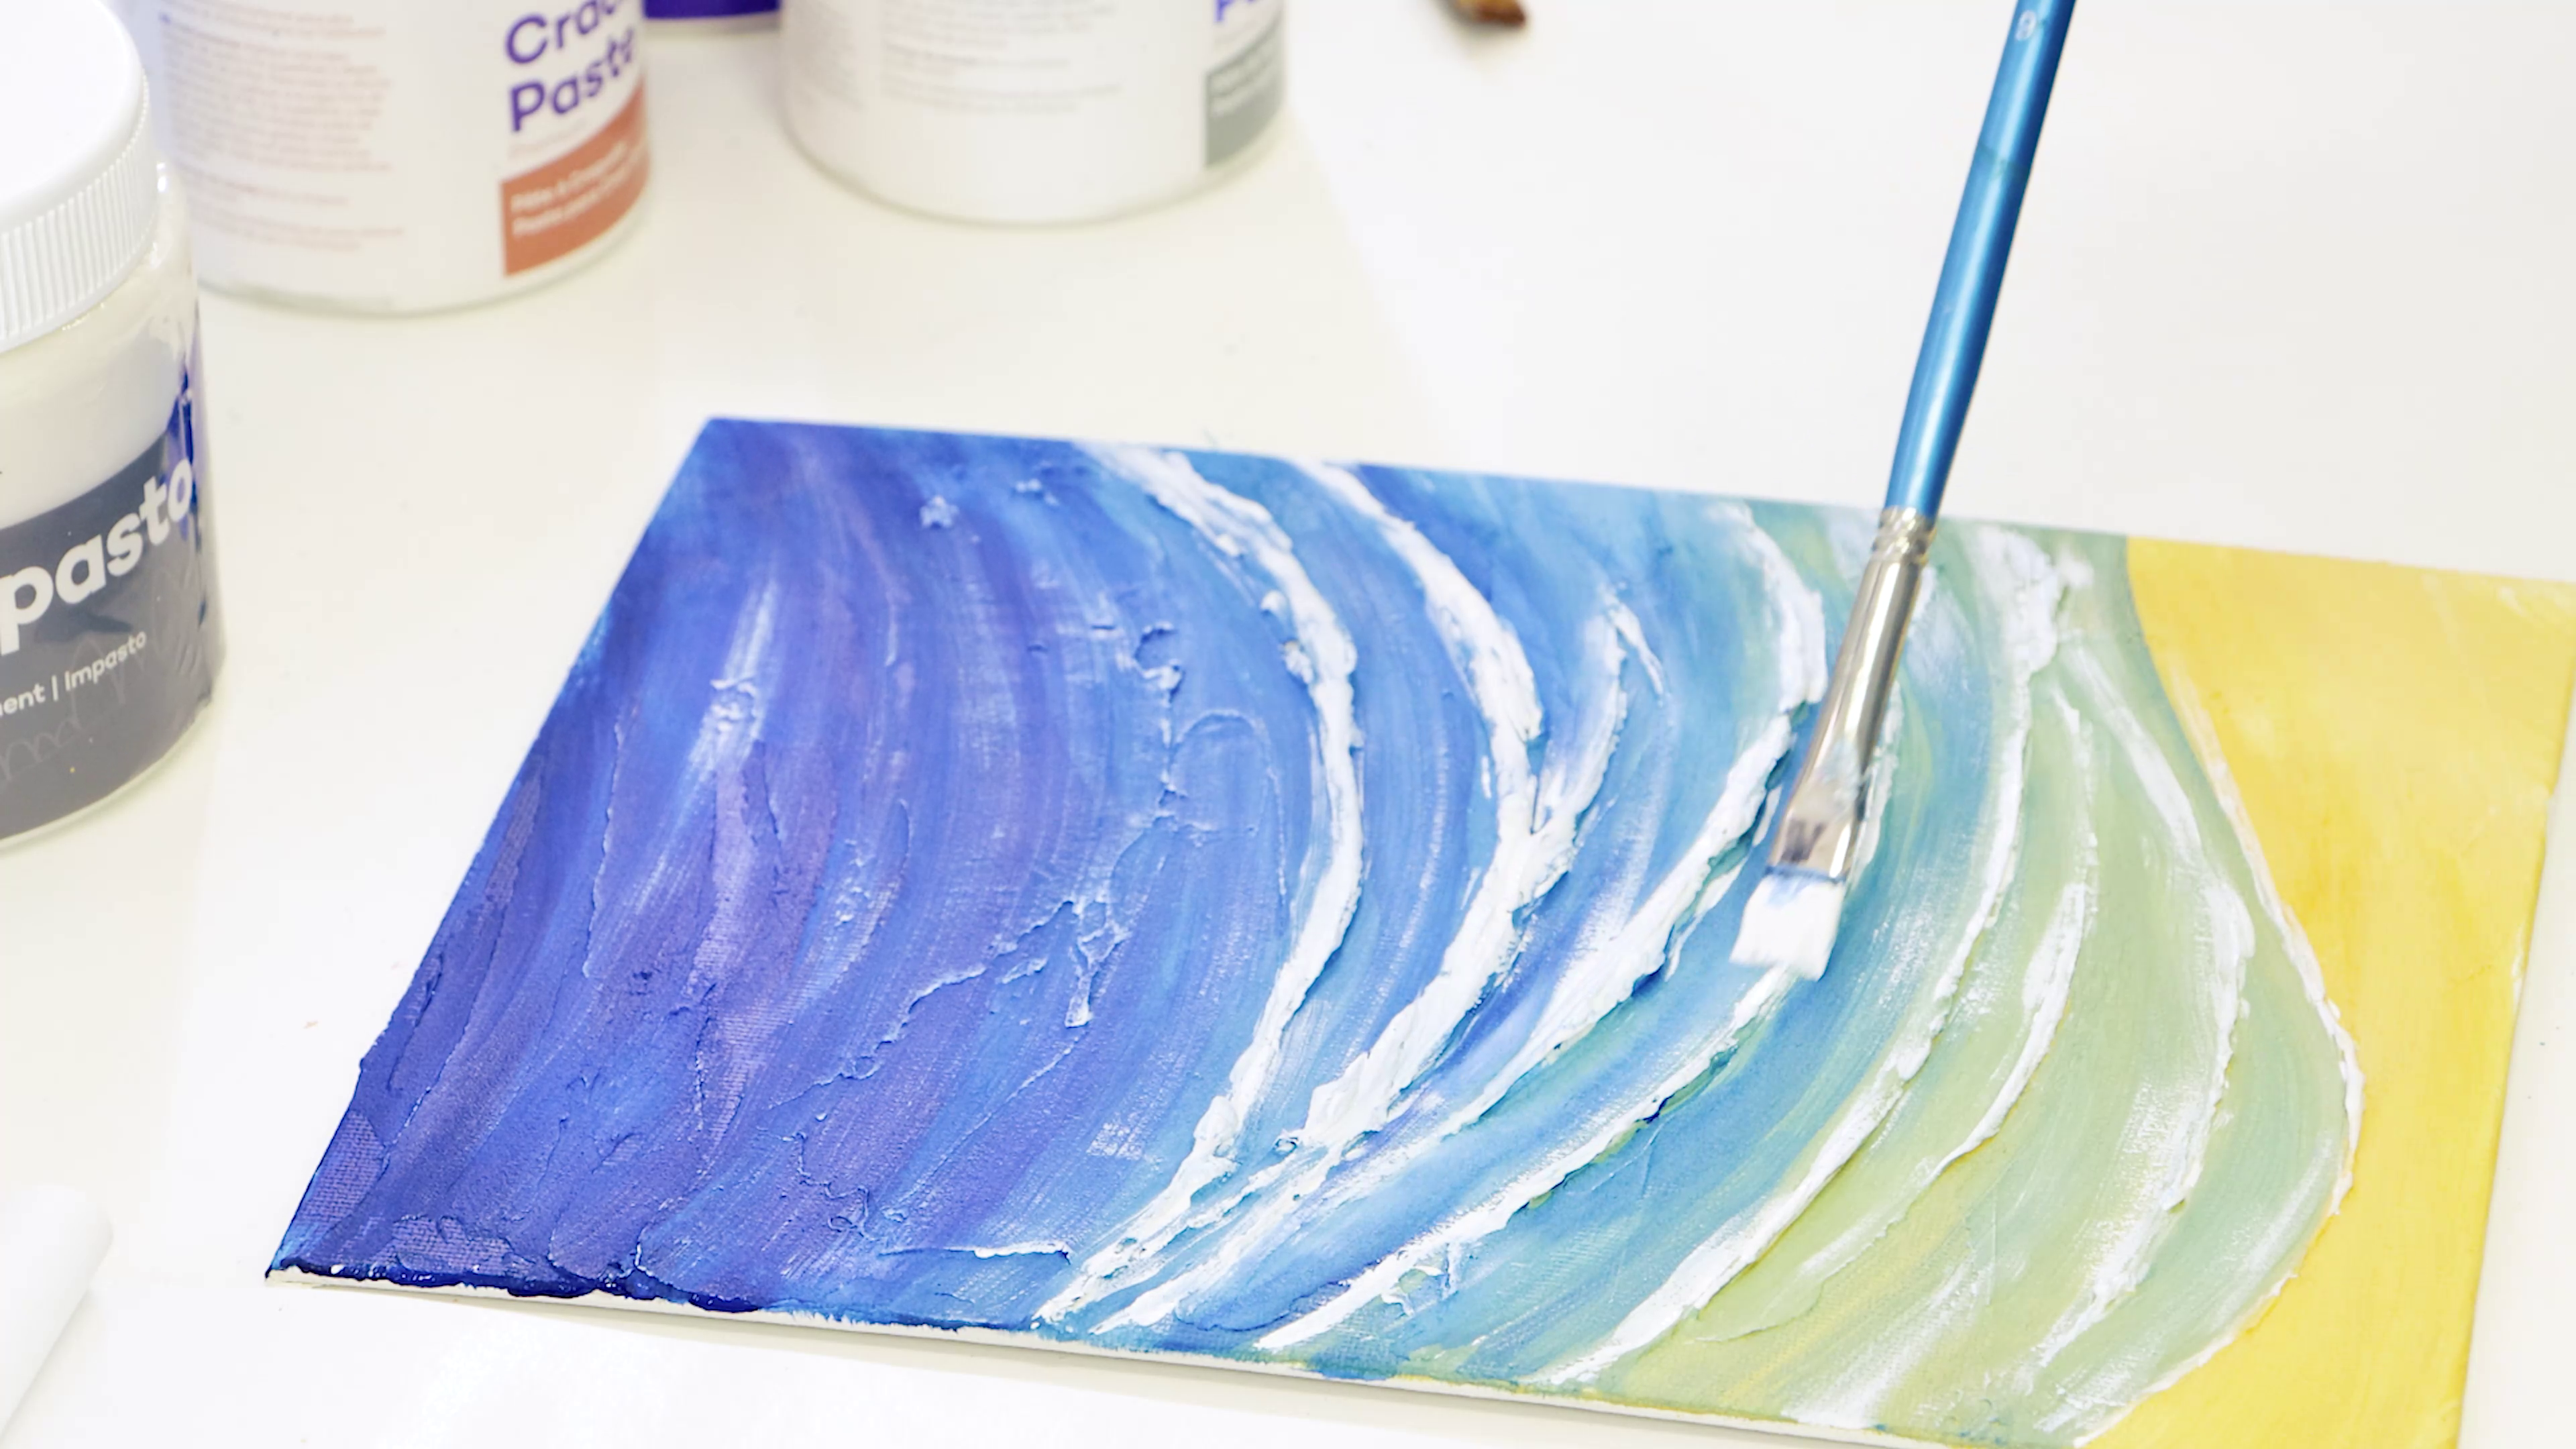
Yes! Our pre-mixed pouring paints can be used for other projects. We’ve seen creators mix things up by using them in acrylic paintings and multi-media projects. Just keep in mind they are thinner than regular acrylic paints and may not offer the same level of coverage. If you're looking for a project that uses pour paints, check out our recent project on how you can paint a tropical abstract landscape with Kylie Jane here.
5. What can I do with my pouring paint?

Pouring paint is versatile, so it’s easy to use it to create loads of stunning effects. Want to create something unique? Try using objects from around the house. Think plastic cups for a drip pour, an old soft drink bottle or even a balloon can be used to create a variety of effects. For a list of pouring paint techniques, check out our article here to get you started and spark your creativity.
6. Do I need to thicken or thin the paint?

This depends on the technique or style that you’re aiming for. For ring pouring, the paint needs to be fairly thick so each colour sits separately and doesn't blend with the next. On the other hand, for Dutch pour painting, the paint needs to be thinner so it can be moved or blown across the canvas.
Once you start experimenting, you’ll get an idea of the consistency you need and like to work with.
7. Can I make my own pouring paint?

Yes, you can DIY your own pouring paint! Make your own pour paints by adding a pouring medium to your acrylic paints to make them flow. We recommend using 1 part acrylic paint, to 2 parts pouring medium, to 1 part water for a medium body acrylic paint. You might need to adjust this if you are trying to work with a heavier bodied acrylic.
8. Why is my pouring paint so thick?

If your pouring paint is too thick, don’t worry, this is a simple problem to fix. As we mentioned earlier, our pre-mixed pouring paints are made slightly thicker so they can be used for a variety of techniques. If you want to thin your paint out, add a little bit of water to the paint to thin it slightly, then slowly add more water until you’ve reached your desired consistency.
9. How do I stop my colours from muddying?

Muddying happens when certain colours come together and turn into a murky mix. The colour wheel is a great starting point to find colours that will complement each other and inspire you, blues work well with hints of metallics, as well as pinks and oranges or greens and blues. The colours in our pre-mixed acrylics have been handpicked and will help with a good starting colour mix. Try not to overwork your pouring paints in the cup or on your surface to save you the risk of muddying.
10. Can I create my own medium?

You can, simply mix 3 parts of PVA Glue, with a 1 part of Acrylic Gloss Medium, 1.5 parts water and around 37.5ml of Acrylic Retarder. We have a handy article to step you through it all here.
You’ll need to mix the PVA glue, Acrylic Gloss Medium and water together in a cup until it forms a consistency similar to pouring cream. If it becomes too thick, add a small amount of water until you get it to a consistency that you like. Keep any leftover medium in an airtight container and store it in a cool, dark place so that you can re-use it, win win!
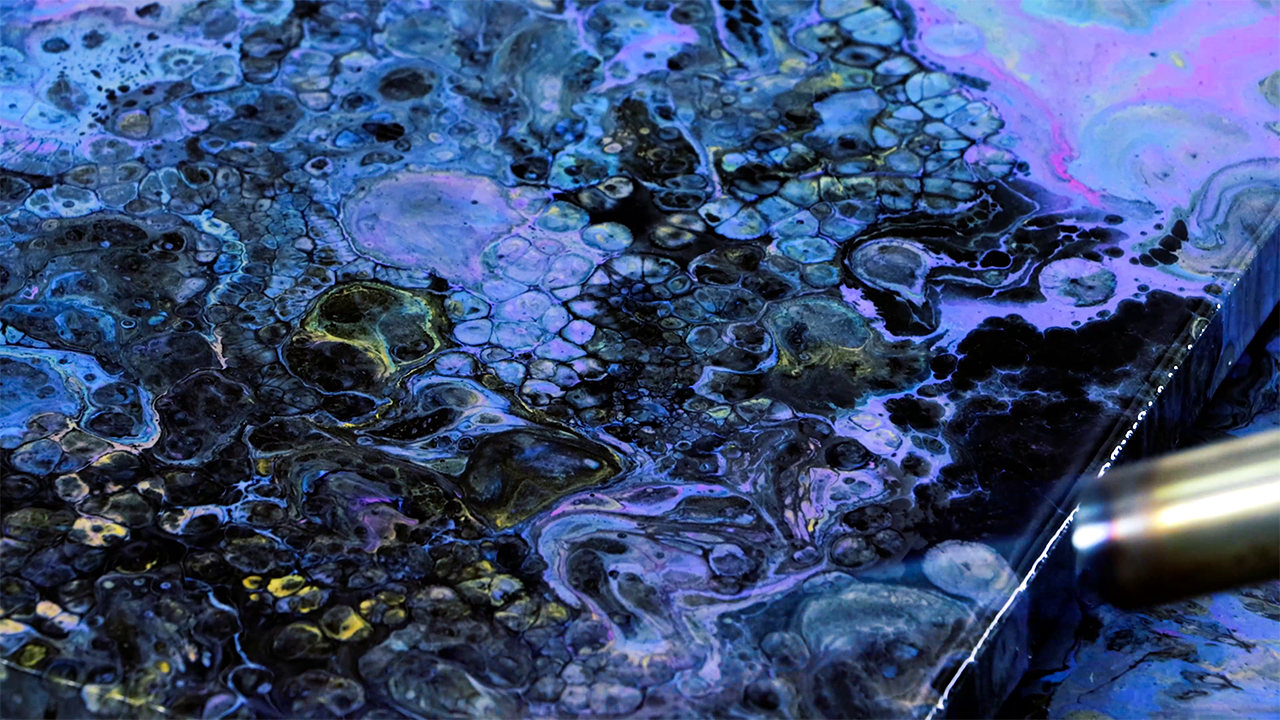
11. What are cells?

Cells are where the paint has formed to create small pockets, this effect looks like cells under a microscope and can vary in shape and size. To create your own cells, use a silicone oil and measure out around 5-10ml of silicon oil with 200ml of acrylic pouring paint.
Or if you’re feeling brave, turn up the heat and grab a blow torch! You won’t need silicone oil for this one, as small cells are created through the power of heat. Once your paint has been poured, hold the blow torch back about an inch and a half from the canvas and move quickly from side to side. But be careful not to get too close to your work!
12. How do I protect my pouring paint?

Brush over your masterpiece with a coat of varnish, using a wide, soft taklon brush. Start from the top of your artwork, and use even, horizontal brush strokes. If you’ve used silicone oil, you will want to remove it before you varnish, check out our Easy DIY fluid art video to find out how.
Looking for more? Head over and check out our pouring paint techniques article for some inspo. Or, if you're ready to pour and not sure about suitable surfaces, our how to choose the right surface for pouring video here will provide you with some tips.