


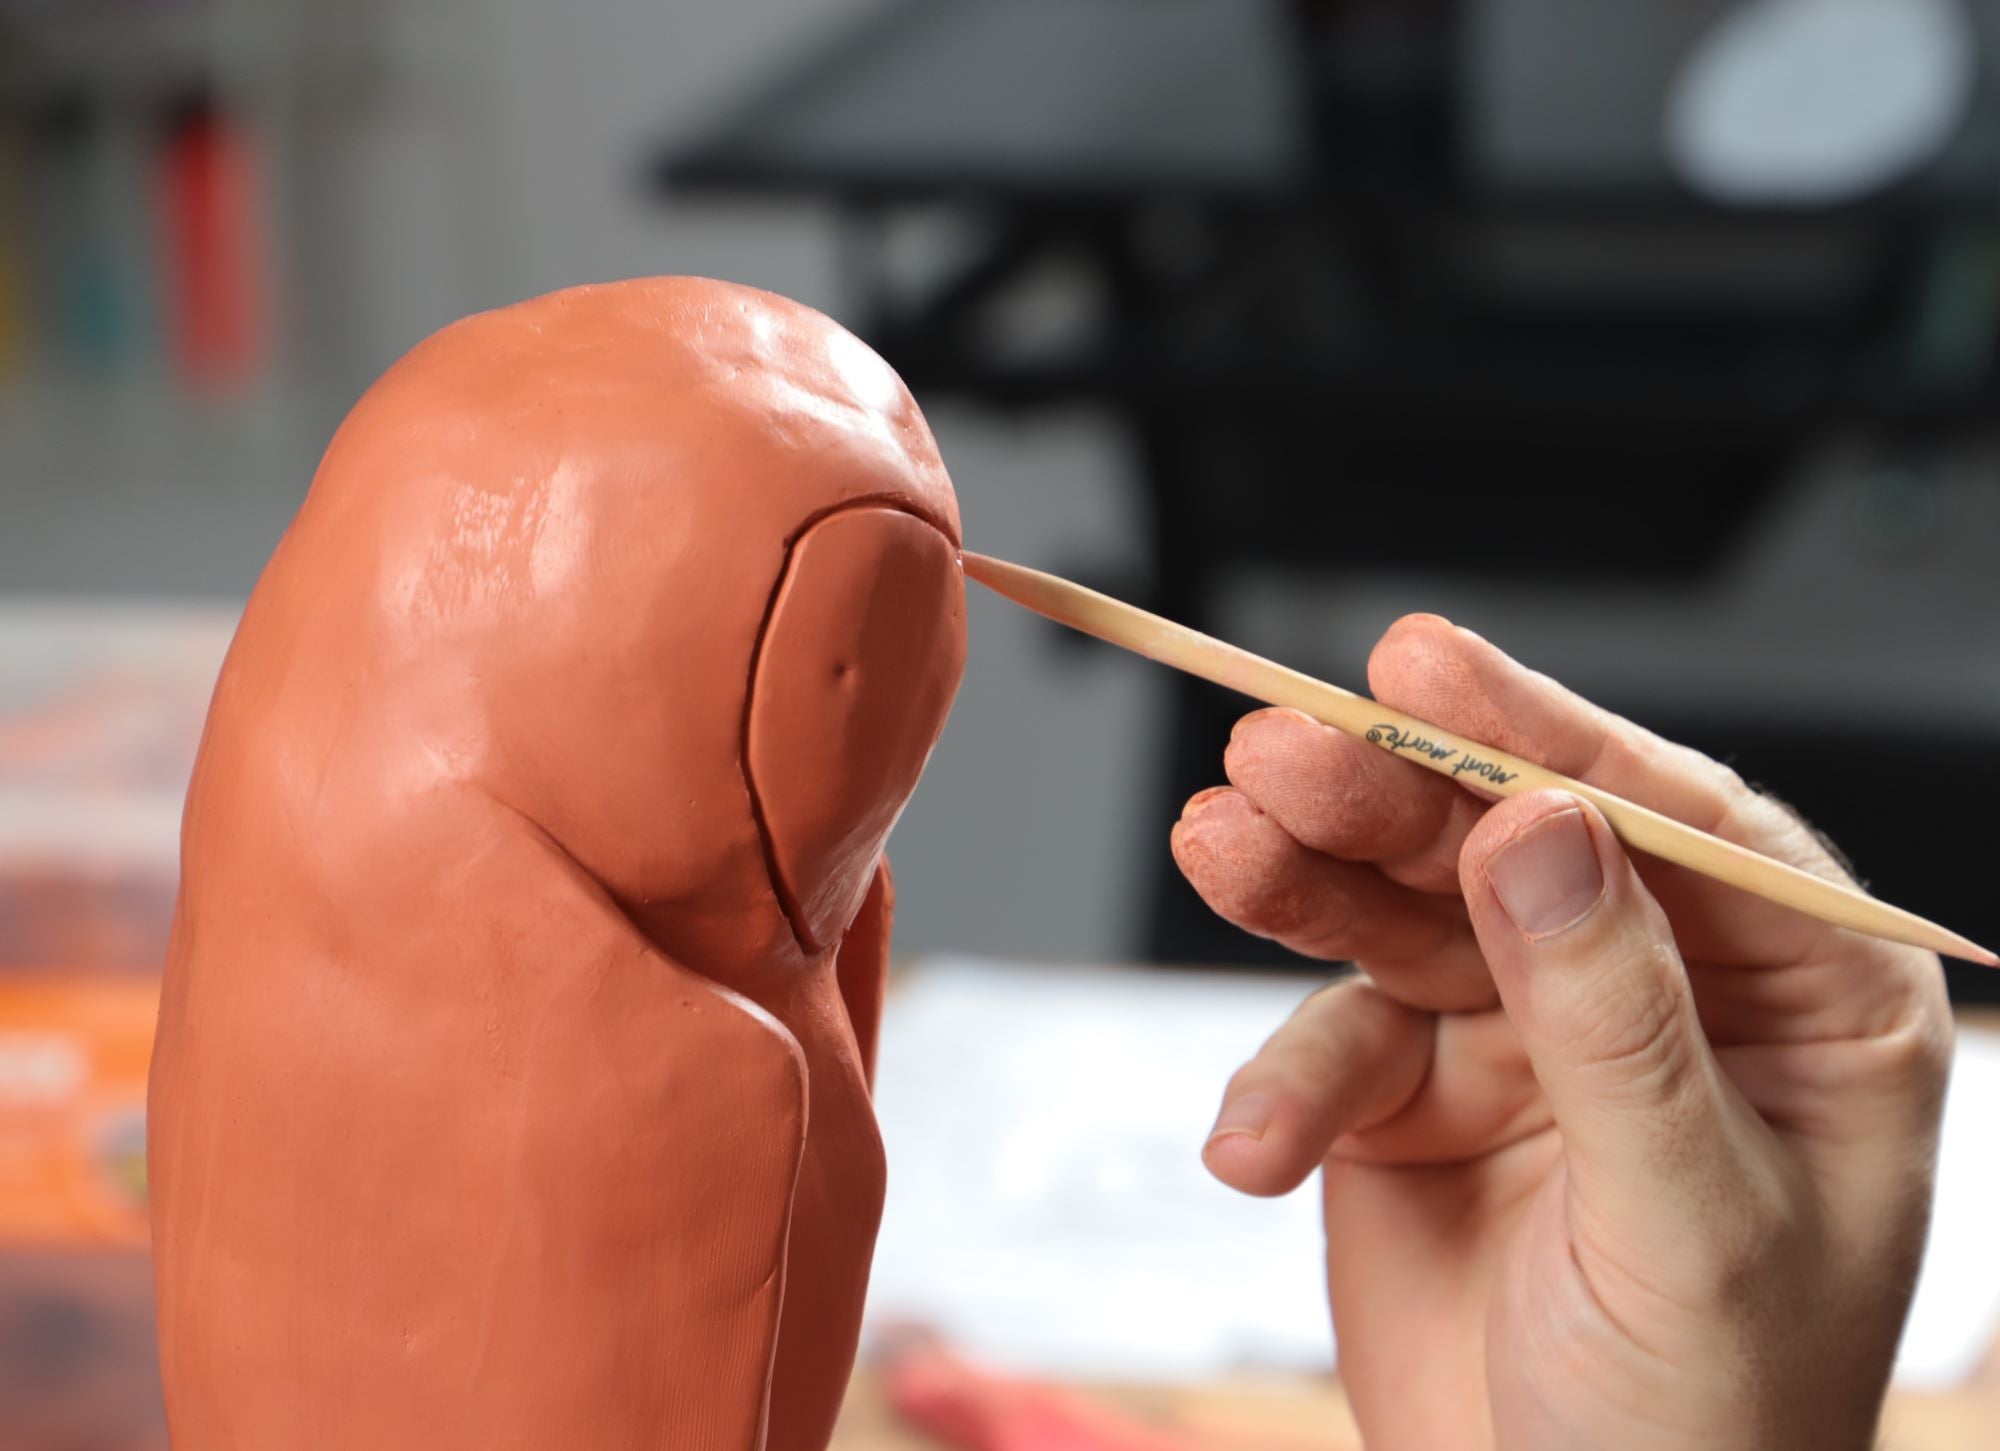


Tackling oil painting can be tricky and it’s hard to know where to start, so we’ve pulled together 10 tips on oil painting for beginners. From the fat over lean rule to alla prima tips and what you’ll need, let’s unpack oil painting so you can give it a go for yourself!

1. Work in a well-ventilated area
One of the most important tips on oil painting for beginners, is to work in a well-ventilated area. When you’re working with oil paints, know you’ll also be working with chemical solvents like turpentines. Solvents like turpentines can cause some people skin irritations or headaches, so listen to your body and stop or swap it out if you feel any discomfort. Make sure you work in an area that has plenty of fresh air and keep your creative area away from little ones.
2. Give yourself enough time
It’s no secret that oil paints take a while to dry. Because the pigments are suspended in an oil form, they need time to dry/oxidise and also cure, so it’s best to know this before jumping into a project.
Not all oil paint colours are made equally, some will take longer to dry. This will depend on the manufacturer and the colours. As a rough guide, Titanium White and Yellow Ochre can take up to eight days to touch dry. Raw Umber and Burnt Sienna can take around two days to touch dry. Also, as colours are mixed, their drying rate can change too. This can be an advantage because you’ll have plenty of time to work with your painting, hone your skills and play around.

3. Try water mixable oils
If you’re reading this and already feeling daunted by the solvents and the drying time, then try water mixable oil paints! These oil paints still have a good coverage, a wide colour range and create a range of oil paint techniques, the difference here is that you can use water with them instead of a chemical solvent like turpentines. Of course, with this, also comes the added benefit that they evaporate to dry, so you won’t need to wait as long for them to touch dry. You can check out our range of water mixable oils here.
4. Getting started with colours
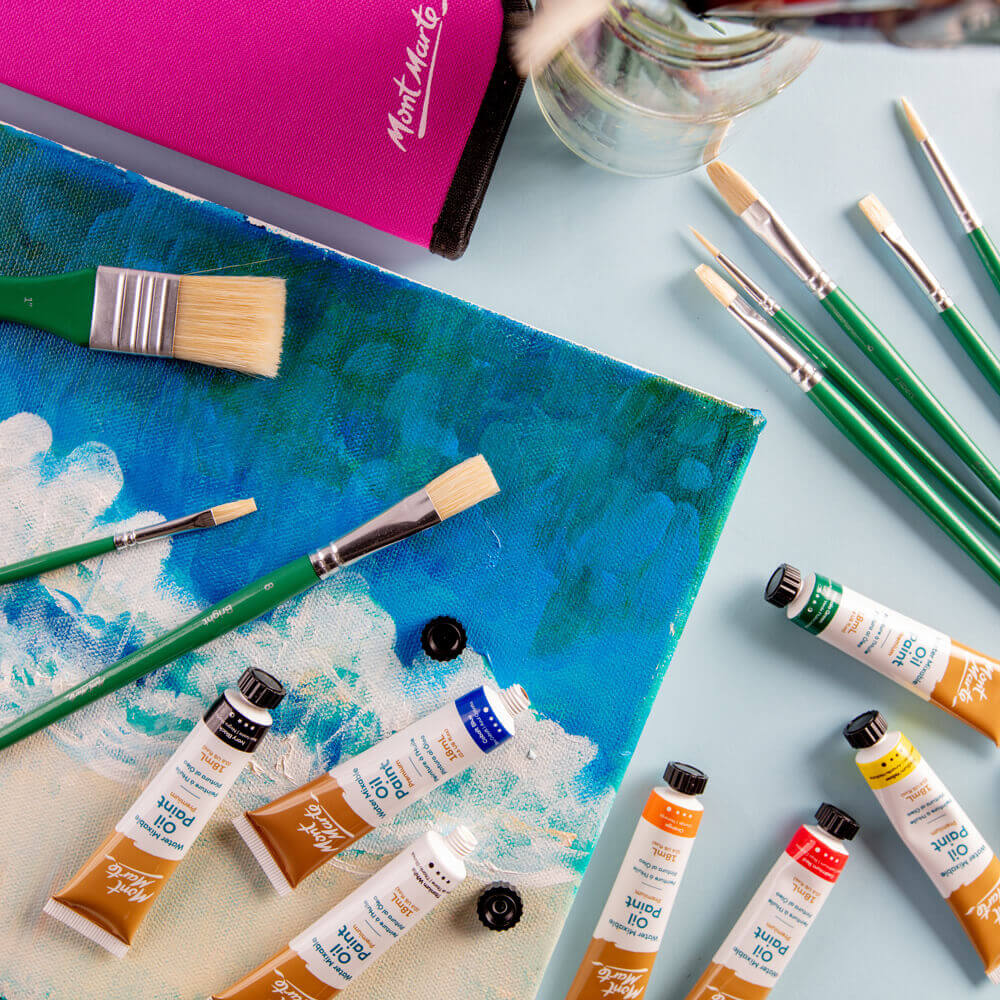
This is the fun part! To start oil painting, you’ll need some paints of course. To make things easy, you can find a great range of intro sets here. Otherwise if you’re looking to buy individual tubes or mixing and matching, then a great basic palette is Titanium white, Ultramarine Blue, Cobalt Blue, Yellow Ochre, Raw Sienna, Burnt Sienna, Rose Madder, Viridian, Cadmium Red, Medium Yellow, Lemon Yellow and Violet. This will give you plenty of colours and tones to play around with.

5. Brushes
When it comes to brushes, then hog bristle and taklon brushes will be your go-tos. Because oil paints are so thick, these particular bristles are important when it comes to spreading the paint around. Taklon is a synthetic and hog bristle are a natural hairbrush, so your choice will depend on personal preference and/or price. For taklon this is a great introductory set, otherwise check out this hog bristle brush set. For more on oil paint brushes, including size and type, check out our oil paint brush guide.
6. Palettes
Let’s cut to the chase, a wooden palette is one of the best for oil paints. Wooden palettes can handle heavy, thick oil paints and they’re typically light weight. A kidney shaped palette works well for beginners because you can also hold it as you work. Otherwise, a glass palette can work but it can also become very heavy during long sessions. Another handy extra tool is a palette knife. This will help you scrape any leftover oil paints away. Plus, it can be used to paint with or be used to clean dried paint from palettes.

7. Fat over lean and alla prima tips
One of the most important techniques with oil painting is the fat over lean rule. Fat is the most oil added, and lean is where little or no oil is added. This is a bit like house painting where an undercoat is lighter than a final coat. Why is this important? As oil paint dries it oxidises so the paint expands and contracts. This means, not only will a thick layer take longer to dry, it can also cause cracking if a thick layer is applied too early.
Another great technique is painting alla prima or wet-on-wet. This technique means you’ll be able to work quickly by building up each layer and adding in your accents last. The main alla prima tip is to work from dark to light. Add in your dark shadows first, pop in the mid-tones then finish with your highlights last. If you’re looking for oil painting techniques to try, we’ve got you sorted.
8. Underpainting
Underpainting is another great tip on oil painting for beginners. Why? because it stops the fear of staring at a stark, white canvas, plus it will help add tone and harmony to your work down the track. To underpaint, start with a cool tone to balance a warmer layer that will be painted on top. Or use a warmer tone if you’re planning a cool layer on top. Just be sure to use a thin, transparent layer and work fat over lean so the colour isn’t too solid.

9. Know how to clean up
Cleaning up after oil painting can be challenging especially if you’re just starting out. Palette knives can be used to scrape off excess oil paints and leftovers can be used for underpainting later on. To clean your brushes after a painting session, you’ll need a chemical solvent plus an oil like safflower or vegetable oil. If you’re not sure how to clean your brushes or just looking for a quick refresher, check out our how to clean oil brushes video.
10. Give yourself space
Oil painting can be challenging to get the hang of so make sure you give yourself space and plenty of time to experiment and see what works for you. You might create something amazing, and you might not, and both are okay! What’s important is that you tackled a challenging medium and learnt along the way, so don’t beat yourself up for trying something new.

Looking for more? Check out our oil painting portrait tips for beginners, or if you’re ready to jump in, try these oil painting techniques.
We hope these 10 tips on oil painting for beginners inspire you to pick up the paint brushes (whether oil or not) and create something amazing! We’d love to see what you create so #montmarteart or tag us @montmarteart on Instagram or Facebook, so we can see!